Adding members to a project group
You can add members to a project group by:
-
Managing a project group and adding members to the project group
-
Managing a user and adding the user to project groups
-
Managing a project and adding members to the project
Note that subsequent users are automatically added to default groups.
Adding members to a project group by managing a project group
-
Log in to Black Duck.
-
Click
 .
. -
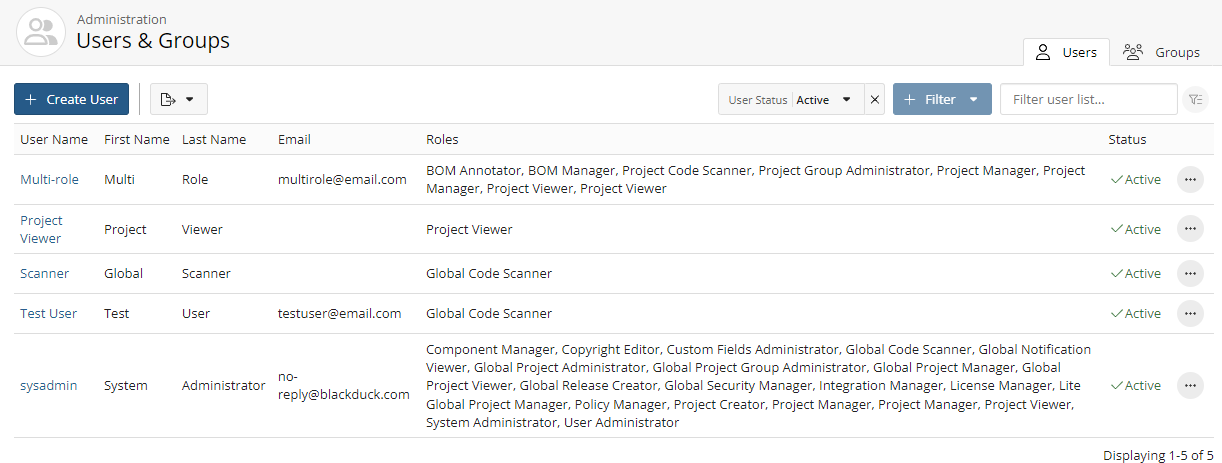
Select Users & Groups to display the User & Group Management page.
-
Click the Groups tab.
-
Find the name of the group for which you want to manage membership:
-
Select the Display Inactive Groups check box to include inactive groups. Clearing this check box hides all inactive groups.
-
Filter the groups that appear on the page.
-
Sort the list of groups by selecting any of the column names. An arrow next to the column name indicates the direction the list is sorted.
-
Use the pagination bar at the bottom of the list to go to the appropriate page if there are more groups than are listed on this page.
-
-
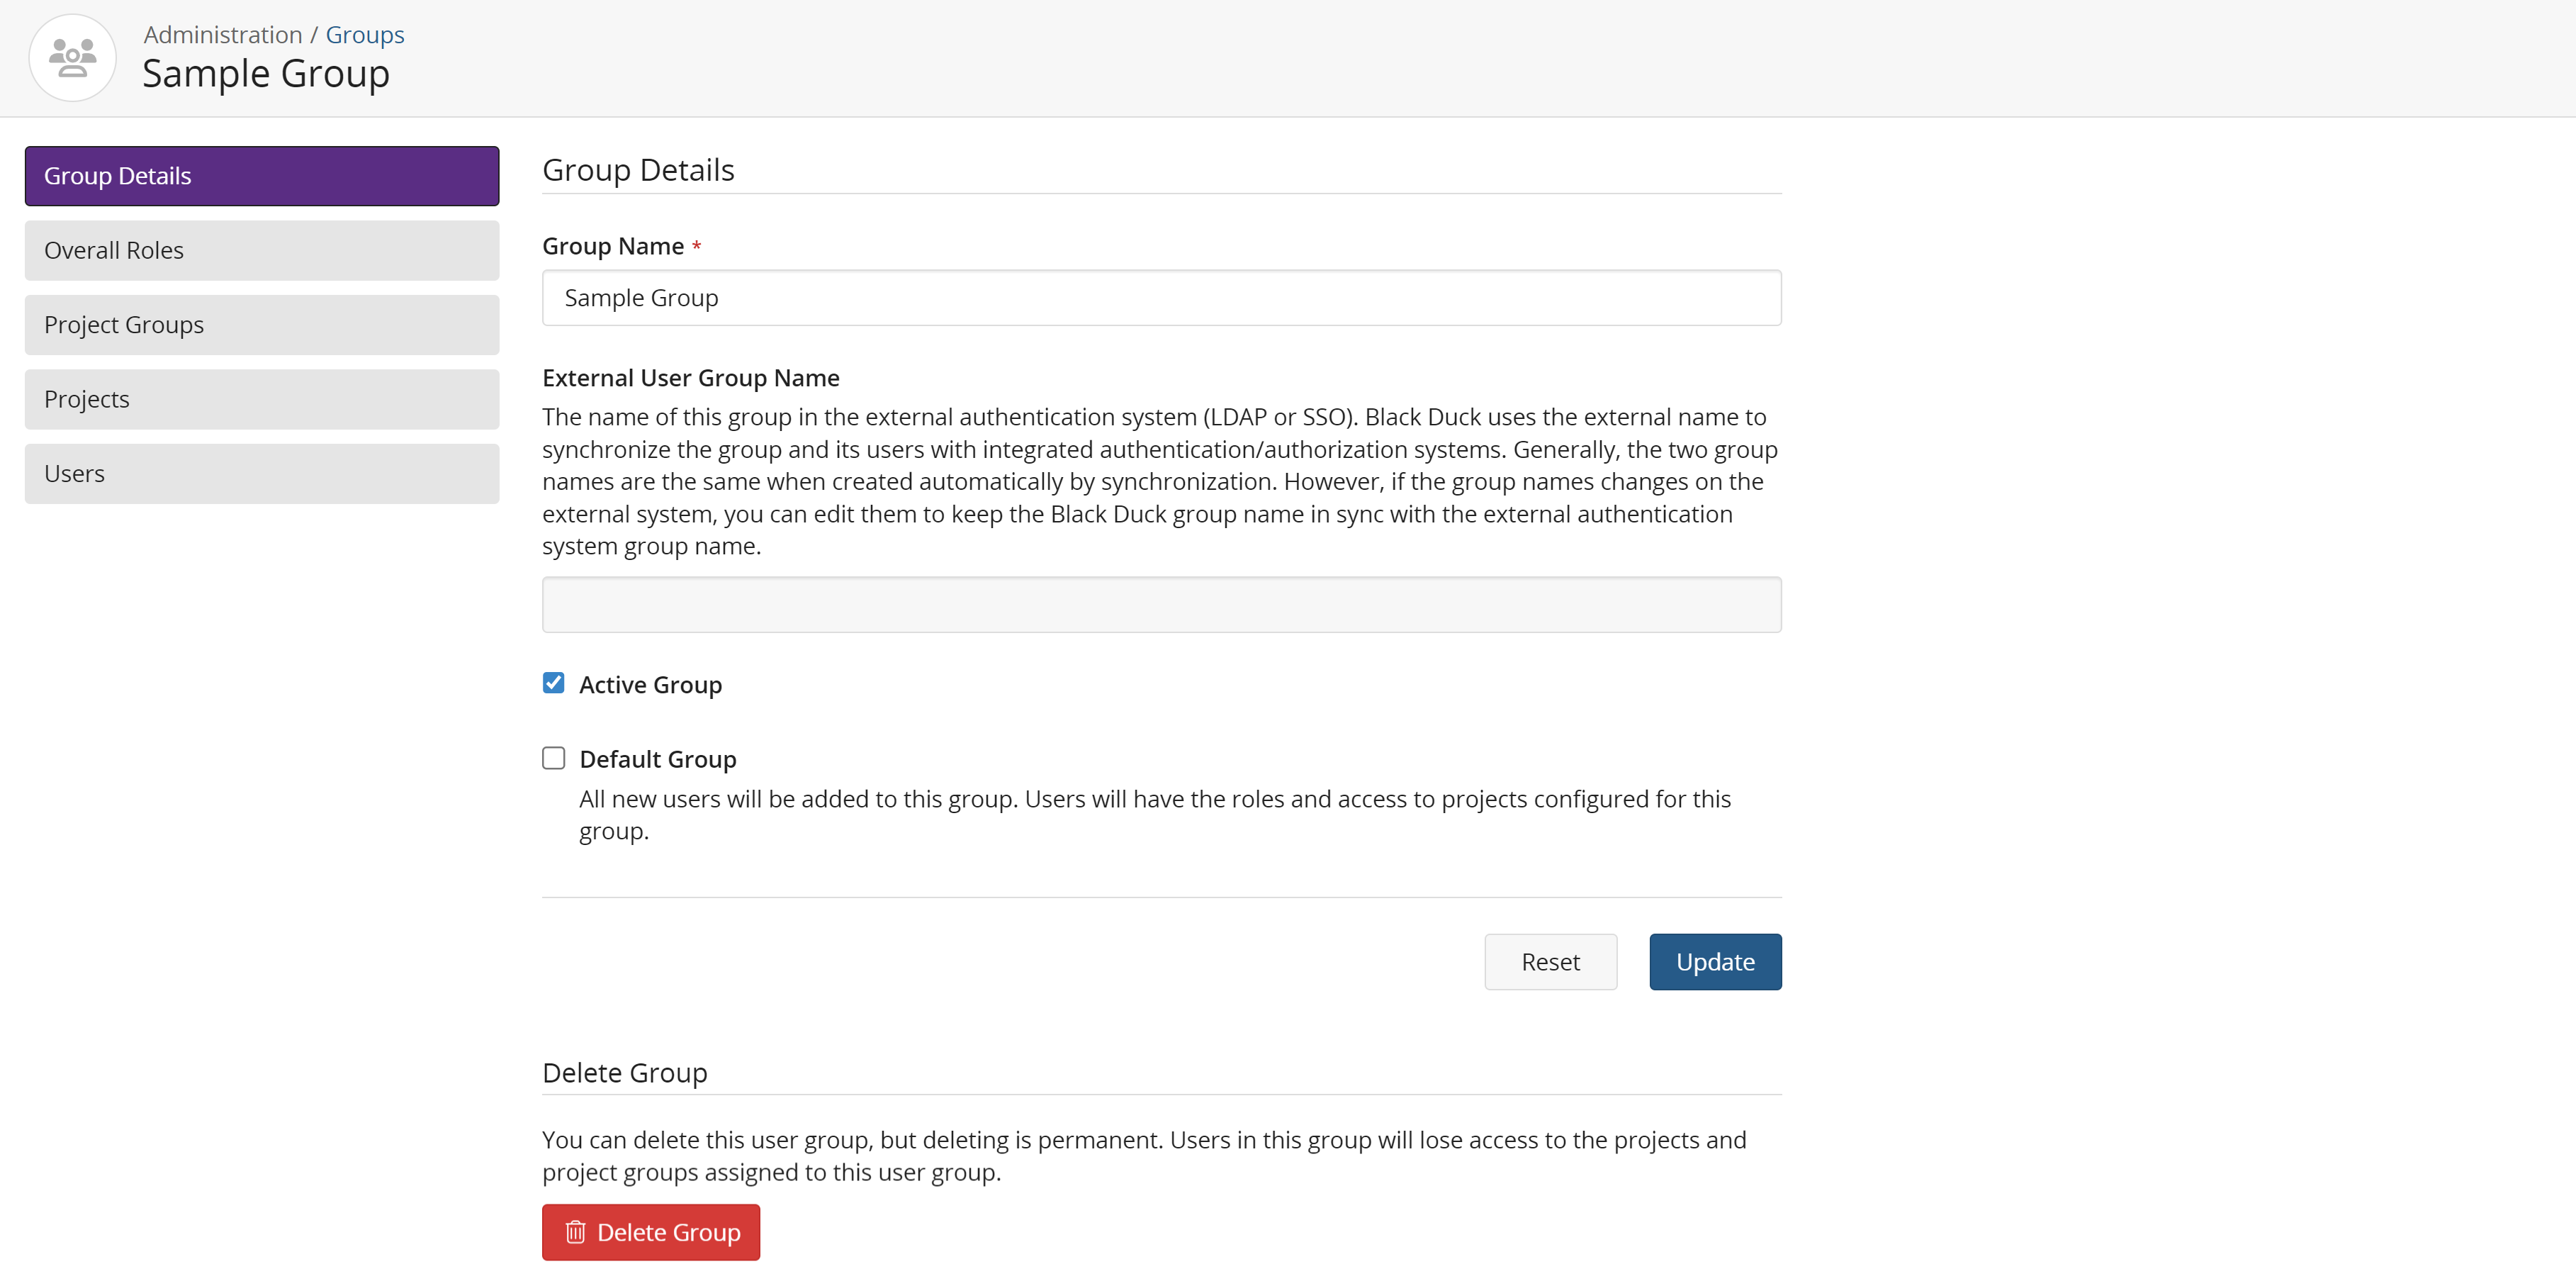
Select a group to display the Group Name page.

-
Click Users in the left-hand menu.
-
Click + Add User to display the Add Users to Group dialog box.
- Add a user or multiple users by:
Typing the user name of the user that you want to add to the project team. The list is type-ahead enabled, so you can see a list of available user names that contain the text you have typed.
Click the Users dropdown box to see a list of users.
-
Select any number of users to add to the project group.
-
Click Add.
The group member list updates to show the newly-added members.
Adding a member to a project group by managing a user
-
Log in to Black Duck.
-
Click
 .
. -
Select Users & Groups to display the User & Group Management page.
-
Find the user you want to find:
-
Select the Display Inactive Users check box to include inactive users. Clearing this check box hides all inactive users.
-
Filter the users that appear on the page.
-
Sort the list of users by selecting any of the column names. An arrow next to the column name indicates the direction the list is sorted.
-
Use the pagination bar at the bottom of the list to go to the appropriate page if there are more users than are listed on this page.
-
-
Select the user to display the Username page.
-
Click Add group in the User Groups section to display the Add Group dialog box.
-
Begin typing the group name. The list is type-ahead enabled, so you can see a list of available group names that contain the text you have typed.
Select the Active only check box to see active groups only.
-
Select the groups you want this user to join.
-
Click Add.
The group table updates to display the newly-added group(s).
Note that the roles assigned to this user are determined by the group.
Adding a member to a project group by managing a project
-
Log in to Black Duck.
-
Click the project on the Dashboard.
-
Click the Settings tab.
-
Click Groups.
-
Click the + Add User Group button.
- Add a user or multiple project groups by:
Typing the project group name that you want to add to the project team. The list is type-ahead enabled, so you can see a list of available project groups that contain the text you have typed.
Click the Group dropdown box to see a list of project groups.
-
Select the desired role(s) for the chosen project groups.
-
Click Add.
The user groups table updates to display the newly-added group(s).


